In the digital age, businesses rely heavily on CRM systems and customer-facing portals to ensure smooth operations and provide an exceptional customer experience. Integrating a CRM like Microsoft Dynamics 365 with Power Pages not only streamlines data flow but also automates workflows, saving time and enhancing efficiency. This blog outlines actionable steps to design this integration with a real-life example that highlights the benefits.
Why CRM and Power Pages Integration is Essential
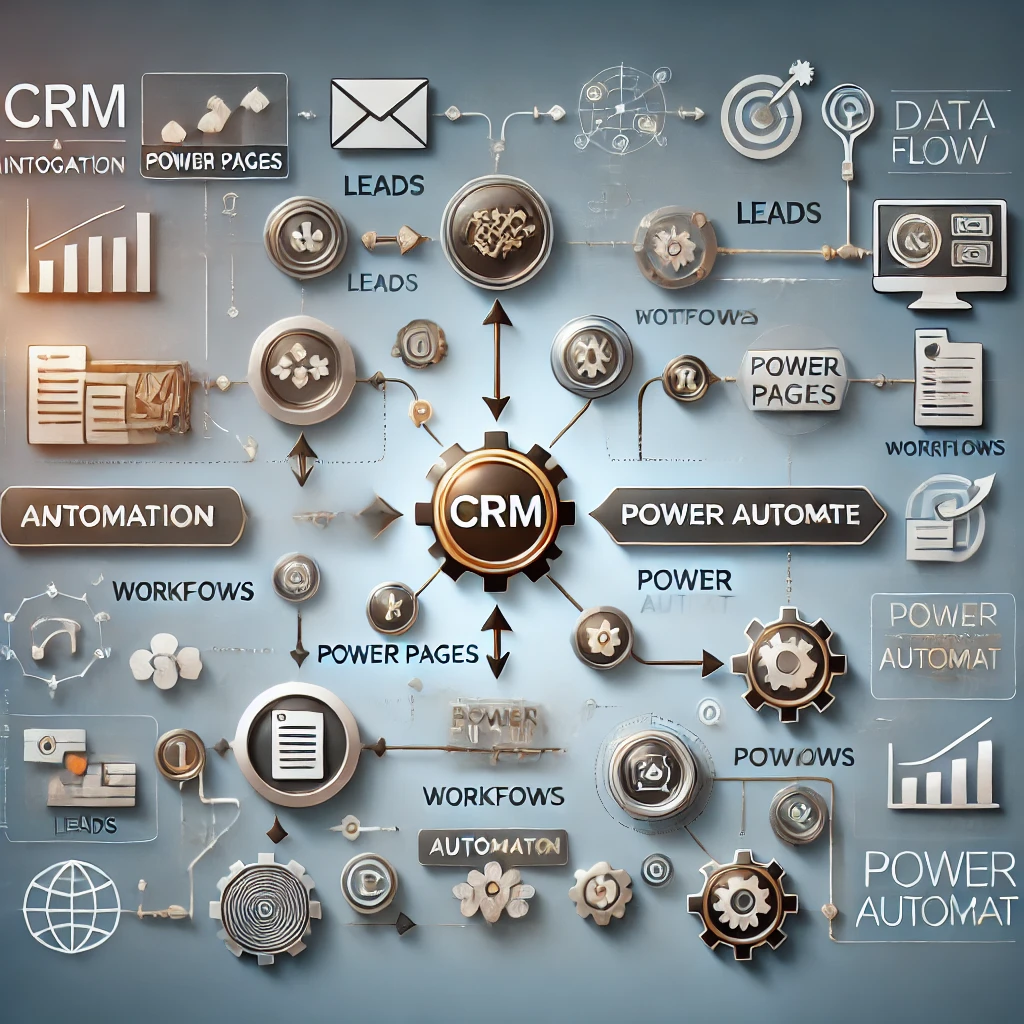
Power Pages serve as a public-facing platform for collecting customer data, while CRMs like Dynamics 365 manage and leverage this data for insights, marketing, and operations. By integrating these systems:
- Data is centralized for better decision-making.
- Manual tasks are eliminated, reducing errors.
- Workflows are automated, improving responsiveness to customer inquiries.
Let’s dive into the process of designing this integration with an example to bring the concept to life.
Steps to Design Integration Automation
1. Define Your Goals
Start by identifying what you aim to achieve. This sets the foundation for the integration.
Example Goal: A travel agency wants to capture trip inquiries submitted on their Power Pages and automatically create leads in Dynamics 365 CRM, ensuring no potential customer is missed.
2. Understand Existing Systems
Analyze both Power Pages and the CRM to identify their capabilities, limitations, and data structures. Check if the necessary connectors and APIs are available for integration.
Real-Life Insight: For the travel agency, the CRM already has a Lead Entity that can store customer details like name, contact information, and trip preferences. The Power Pages form collects similar data fields.
3. Map Data Flows
Clearly define how data will flow between the two systems. Decide whether the integration will be one-way or bidirectional and map out field-level correspondence.
Example: When a customer fills out a form on Power Pages, the following mapping occurs:
- Name → CRM Lead’s Name Field
- Email → CRM Lead’s Email Field
- Destination Preference → CRM Lead’s Notes Section
4. Select Integration Tools
Microsoft provides robust tools for automating workflows between Power Pages and Dynamics 365 CRM:
- Power Automate: Ideal for creating triggers and actions for form submissions.
- Azure Logic Apps: For advanced scenarios requiring high scalability.
- Custom APIs: When default connectors don’t suffice.
Example Tool: The travel agency uses Power Automate to trigger workflows when a customer submits an inquiry form.
5. Build and Test Workflows
Develop workflows that automate the desired actions. Incorporate validations and error-handling mechanisms to ensure a smooth operation.
Real-Life Example Workflow:
- A potential customer submits a trip inquiry on Power Pages.
- Power Automate triggers upon submission, validating the form data.
- If valid, a lead is created in Dynamics 365 CRM.
- The CRM automatically assigns the lead to a sales representative.
- A confirmation email is sent to the customer.
6. Ensure Security
Security is critical when handling sensitive customer data. Implement measures like:
- Authentication: Use Azure Active Directory to authenticate users.
- Data Encryption: Ensure data is encrypted in transit and at rest.
- Role-Based Access Control: Restrict access to sensitive data based on user roles.
Example: The travel agency ensures that only authenticated users can submit inquiries and limits lead data access to sales managers in the CRM.
7. Monitor and Optimize
Once the integration is live, continuously monitor its performance. Use analytics tools like Power BI to gain insights into workflow efficiency and identify bottlenecks.
Example: The travel agency tracks:
- The number of leads generated daily.
- The average response time of sales reps.
- Trends in popular travel destinations based on inquiries.
Real-Life Example: Online School Enrollment System
Imagine an online school that uses Power Pages to collect student applications and Dynamics 365 CRM to manage admissions. Here’s how integration automation improves their process:
- Application Submission: Students submit their details (e.g., name, age, course preference) through Power Pages.
- Workflow Automation: Power Automate triggers a workflow that validates the data and creates a new lead in CRM.
- Validation: CRM checks the course availability and adds the lead to the admissions pipeline.
- Notification: Students receive an automated confirmation email with further instructions.
- Tracking: The school monitors application trends and response times using Power BI dashboards.
This integration ensures that no application is lost, response times are minimized, and the admissions process is transparent.
Benefits of CRM and Power Pages Integration
- Increased Efficiency: Automates repetitive tasks like data entry.
- Better Customer Experience: Faster responses to customer inquiries.
- Scalability: Handles high volumes of data without manual intervention.
- Actionable Insights: Centralized data enables real-time analytics.
Conclusion
Integrating CRM and Power Pages is not just a technical task—it’s a strategic move toward improving customer engagement and operational efficiency. With tools like Power Automate and robust workflows, businesses can create seamless integrations that deliver measurable results.
Whether you’re managing travel leads or student applications, the possibilities with CRM and Power Pages integration are endless. By following these steps, your organization can unlock the full potential of automation and set a new benchmark in customer experience.